Vinyl Trim Repair Services Overview
Visitors can learn about vinyl trim repair options and compare local contractors who provide these services.
- - Residential homeowners seeking to enhance curb appeal with durable vinyl trim repairs.
- - Commercial property managers needing reliable local contractors for building facade updates.
- - Real estate professionals preparing properties for sale by restoring or replacing vinyl trim.
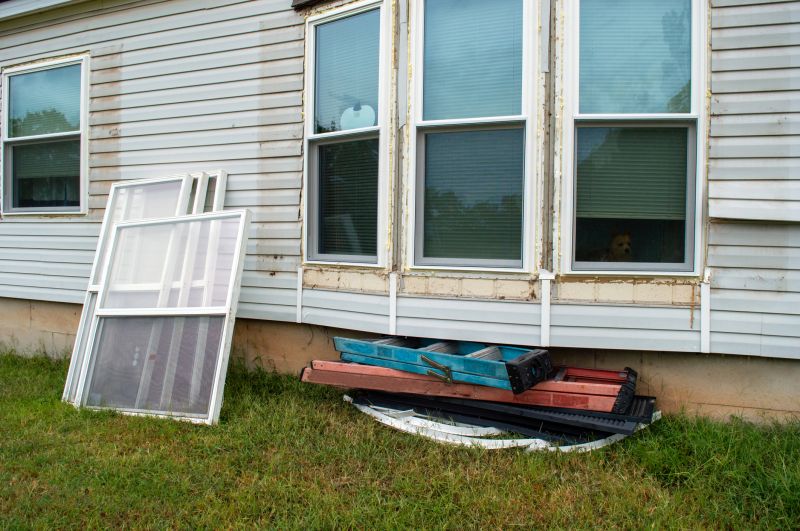
Vinyl trim repair services are essential for maintaining the appearance and integrity of a property's exterior. Over time, vinyl trim can become damaged due to weather exposure, impact, or age, leading to cracks, warping, or fading. Property owners seeking to restore their home's curb appeal often look for local contractors who specialize in vinyl trim repair to handle these issues efficiently and effectively. These service providers typically assess the damage, remove the compromised sections, and replace or restore the vinyl to match the existing trim, ensuring a seamless appearance.
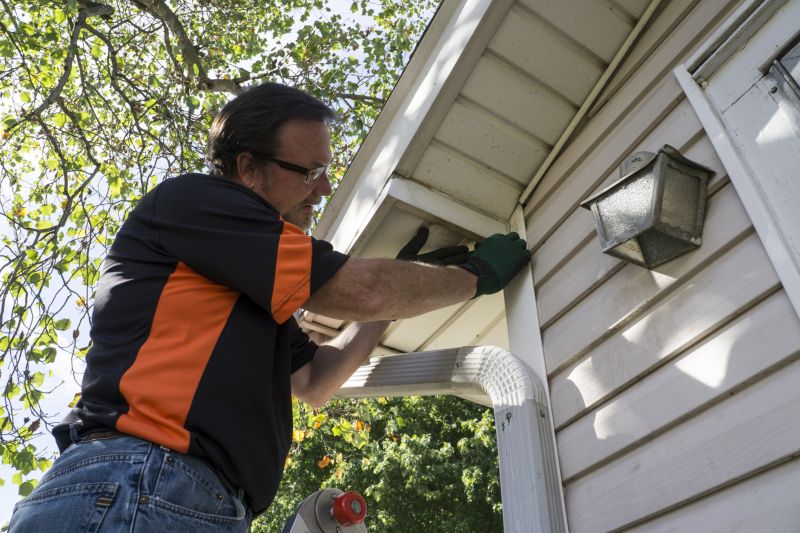
Local contractors who offer vinyl trim repair understand the common challenges faced by property owners and are equipped to address a variety of repair needs. Whether dealing with minor cracks or extensive damage, these professionals can help restore the trim's function and aesthetics. Connecting with experienced local service providers allows property owners to compare options and find the right fit for their specific repair projects, ensuring the work aligns with their property's needs and style.
This guide provides helpful information to understand vinyl trim repair projects and the types of services available. It assists in comparing local service providers so homeowners can find experienced contractors suited to their needs. The goal is to help visitors gather the basics needed to connect with qualified local pros for their vinyl trim repair work.